
Question: Types of OR (Object repository)?
Answer: There are two types of object repository Per action repository and Shared repository
Per action repository | Shared repository |
1.Saves in the action folder under test folder while saving a test | 1. Saves in a separate folder other then test and we can it as follows . Dim App Set App = CreateObject("QuickTest.Application") blnOR=App.Test.Actions(strActionName).ObjectRepositories.Find(ORPath) |
2. We mainly use it for very small test | 2.We mainly use it for big test where we have to interact with so many function or actions . |
3.Extention is .mtr | 3.Extention is .tsr . |
Question 2: How to Merge OR.
Answer 2: We can merge OR as follows.
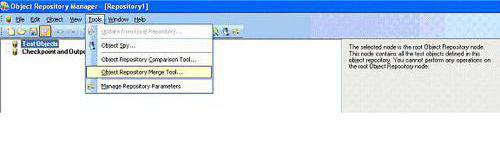
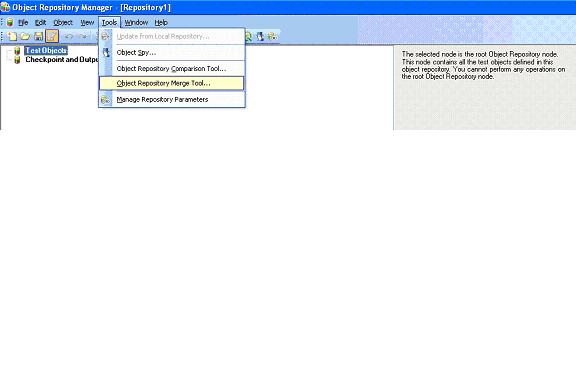
Navigate: Resources > Object repository manager
In object repository manager open Tool: > Object repository merge Tool
It will navigate to following screen.
Browse primary file and secondary file and click OK

After merging it display a message like below:

We can select option from following as per the requirement:

After taking consideration all the conflict we can save the repository.
Question: How to compare two OR ?
Answer : We can compare OR as follows.
Navigate: Resources > Object repository manager
In object repository manager open Tool: > Object repository comparison Tool

It will navigate to following screen.
Browse primary file and secondary file and click OK

It will display result as follows

All the matched objects will get highlighted

Question: How to associate OR as per the action?
Answers: We can associate OR as per the actions as follows.
Navigate: resources > associate repositories

It will open new windows as
In this window we can just select the repository and select the actions required in test with that repository.


